Security Onion 20110321 is now available! This new version includes an updated Setup script that allows you to easily create a Sguil server and then create multiple Sguil sensors that report back to the Sguil server.
How do I get it?
New users can download the latest ISO image from
here. Existing Security Onion users can perform an in-place upgrade to version 20110321 using the following commands:
wget http://downloads.sourceforge.net/project/security-onion/security-onion-upgrade.sh
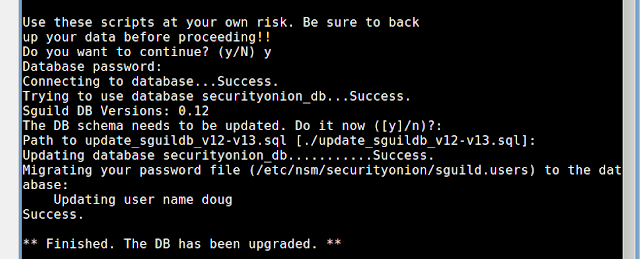
sudo bash security-onion-upgrade.sh
Existing users, please note that running Setup on a previously configured system will remove any existing configuration.
How do I create a Sguil server?
You have three options:
1. Launch Setup and choose "Quick Setup". This will install a Sguil server AND create a Sguil sensor for each ethernet interface on the server.
2. Launch Setup, choose "Advanced Setup", and choose "Both". This will install a Sguil server AND create a Sguil sensor for each ethernet interface on the server, but will give you more options than "Quick Setup".
3. Launch Setup, choose "Advanced Setup", and choose "Server". This will just install a Sguil server.
How do I create a Sguil sensor?
Launch Setup, choose "Advanced Setup", and choose "Sensor". Enter the name/address of the Sguil server and a username that has sudo permissions on the server. A terminal window will appear prompting you to login to the server to complete the server configuration.
Demo
Download the latest ISO image from
here.
Boot the Security Onion ISO and choose Install from the boot menu.
Standard Ubuntu installer appears. Follow the prompts to complete your installation.
Reboot into your new Security Onion installation and login using the username/password you specified in the previous step.
Double-click the Setup desktop shortcut.
Administrative password prompt appears. Enter your password and click OK.
Welcome screen appears. Press Enter.
Quick Setup screen appears. Press Enter.
Username screen appears. Enter your desired Sguil username and press Enter.
Password screen appears. Enter your desired Sguil password and press Enter.
Password confirmation screen appears. Confirm your desired Sguil password and press Enter.
Settings confirmation screen appears. Press Enter.
Setup creates the Sguil server and sensors and then starts all services.
Setup Complete screen appears. Press Enter.
Double-click the Sguil desktop shortcut. Login window appears. Enter the Sguil username/password you specified in Setup.
Sensors window appears. Click "Select All" and then click "Start Sguil".
Sguil main window appears. Simulate an attack by going to a terminal and typing "curl http://testmyids.com".
A new alert should appear in the Sguil window. Notice that the sensor is named server-eth0, where "server" is the hostname and "eth0" is the interface that saw the traffic.
We've now verified that the Sguil server is running correctly. Let's go to our second machine and build a sensor.
Boot the Security Onion ISO and choose Install from the boot menu.
Standard Ubuntu installer appears. Follow the prompts to complete your installation.
Reboot into your new Security Onion installation and login using the username/password you specified in the previous step.
Double-click the Setup desktop shortcut.
Administrative password prompt appears. Enter your password and click OK.
Welcome screen appears. Press Enter.
Quick Setup screen appears. Click "No, use Advanced Setup".
Components screen appears. Click "Sensor" and click "OK".
Server Hostname screen appears. Enter server hostname/address and press Enter.
SSH Username screen appears. Enter username on server and press Enter.
IDS Engine screen appears. Press Enter.
Interfaces screen appears. Select your desired interface(s) and click OK.
Confirm Settings screen appears. Click "Yes, proceed with the changes!".
Terminal appears prompting to accept SSH key of server. Type "yes" and press Enter.
Password prompt appears. Enter password and press Enter.
Sudo prompt appears. Enter password and press Enter.
Setup creates the Sguil sensor(s).
Setup starts all Sguil services.
Setup Complete screen appears. Press Enter.
Simulate an attack by opening a terminal and typing "curl http://testmyids.com".
At this point, we can return to our server. In the Sguil window, click File and then click "Change monitored networks".
Sensor selection window appears. Notice that there are new sensors named sensor-eth0, sensor-eth1, sensor-eth2, and sensor-ossec. Select the new sensors and click "Start Sguil".
Click the "Agent Status" tab and verify that the the new sensors are checking in.
Notice that there is a new alert with a sensor name of sensor-eth0, where "sensor" is the hostname of the sensor and "eth0" is the interface which saw the traffic.
In this blog post, we've demonstrated how Security Onion can build an army of distributed Sguil sensors in just a few minutes.