Introduction
Over the last few years, many folks have asked if they could run Security Onion on a Raspberry Pi. The answer is no, for two main reasons:- The Raspberry Pi has an ARM processor and we do not compile Security Onion for ARM.
- The Raspberry Pi is simply not powerful enough to do the kinds of things you would want to do with Security Onion.
However, the Atomic Pi was recently announced and it's based on the Intel Atom processor. This avoids the ARM architecture issue and the specs are a little bit better than the Raspberry Pi, but are they good enough to run Security Onion?
Disclaimers
 |
| Thanks https://imgflip.com/memegenerator for reminding us that Jeff Goldblum does not approve of this project! |
This is intended to be a fun project only, so let's start with some disclaimers:
- Jeff Goldblum does NOT approve!
- The Atomic Pi simply wasn't designed to support things like Security Onion and so its hardware is very limited. Limited RAM, limited storage, limited expansion!
- The Atomic Pi is a limited production run, so once they're sold out, there won't be any more!
- You might be able to make the Atomic Pi work on a low bandwidth home network, but we do not officially support or recommend running Security Onion on the Atomic Pi for any serious production usage!
- If you try to deploy Security Onion on the Atomic Pi in production, it may result in dropped packets, missed attacks, and a burning sensation!
Procurement
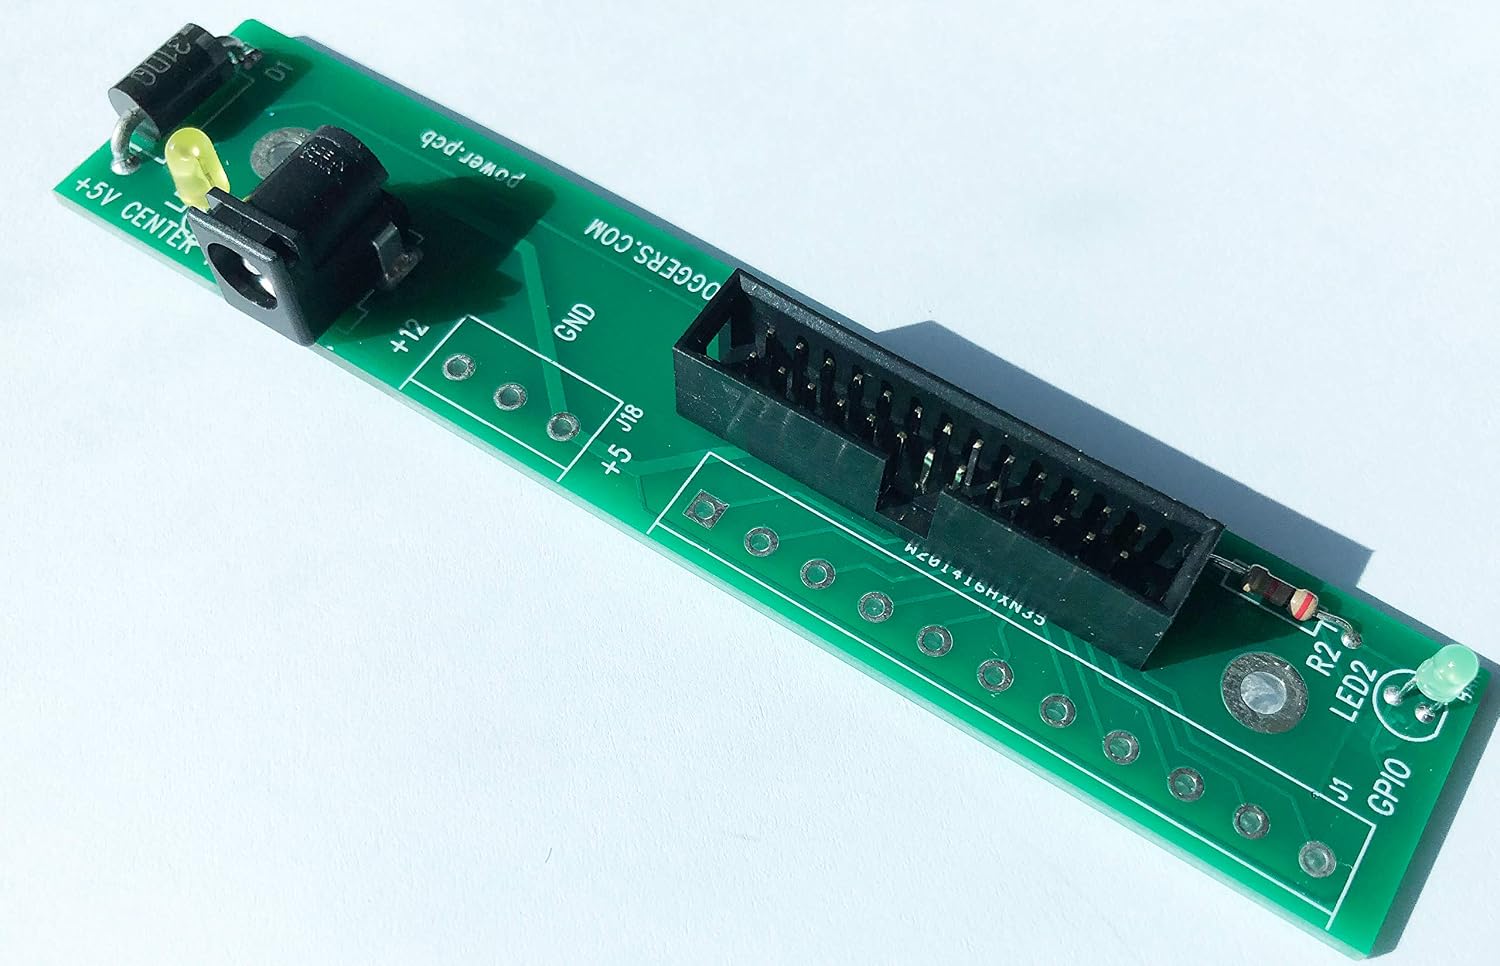
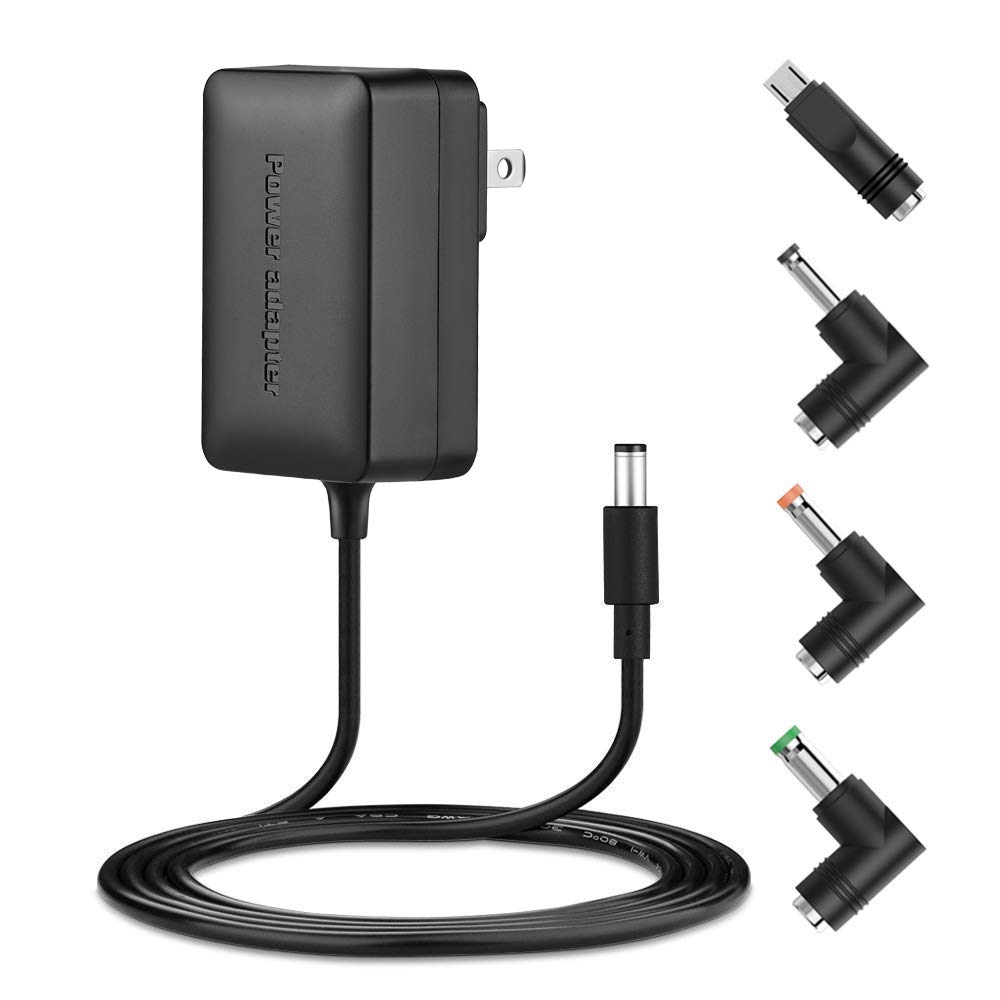
The Atomic Pi can be purchased from Digital Loggers Direct or from Amazon: | |
|
Purchase Atomic Pi Breakout Board from Amazon
 |
| https://images-na.ssl-images-amazon.com/images/I/812Ih4VWvfL._SL1500_.jpg |
Purchase Power Supply from Amazon
 |
| https://images-na.ssl-images-amazon.com/images/I/51Qr04soWPL._SL1000_.jpg |
Installation
With hardware in hand, we connected the above parts and also added a USB keyboard and mouse via USB hub. We then booted the Atomic Pi to verify that it was functional. The Atomic Pi comes preloaded with Lubuntu 18.04, so we knew our Security Onion ISO image would load fairly easily. Even though our ISO image is based on Ubuntu 16.04, it includes the HWE stack, which is the kernel and drivers from Ubuntu 18.04. We prepared a USB drive with our Security Onion 16.04.6.1 ISO image and then followed our Installation Guide here:https://securityonion.net/docs/quick-iso-image.html
In a later section, we'll talk about disabling the desktop GUI to minimize RAM usage, so instead of using our ISO image another option would be to start off with Ubuntu 16.04 Server (no GUI):
https://securityonion.net/docs/installing-on-ubuntu.html
If we were to use Ubuntu 16.04 Server, we would need to manually select the HWE stack to ensure full hardware support of the Atomic Pi components.
Maximizing the Minimal RAM
One of the main constraints of the Atomic Pi is the limited RAM - only 2GB! This is not much especially when you consider our Hardware Requirements:https://securityonion.net/docs/hardware.html
So the first thing we need to do after installation is to enable RAM compression to avoid swapping to the eMMC storage as much as possible. To do this, we'll need to connect to the Internet using the Atomic Pi's wireless or wired interface and then install the zram-config package and reboot:
sudo apt update && sudo apt install zram-config && sudo rebootAfter rebooting, we can verify that there are zram entries in /proc/swaps:
cat /proc/swapsWe can also disable other unnecessary services like bluetooth:
https://securityonion.net/docs/performance.html#disable-unnecessary-services
Even with these tweaks, RAM is still very limited. So what can we do with so little RAM?
Use Case #1 - Wazuh HIDS Server
Let's start off with a simple use case. Suppose we just want to deploy a Wazuh server that could manage some Wazuh agents and allow us to view Wazuh HIDS alerts using the Squert web interface. We run Setup and choose the following options:- skip network configuration
- Production Mode
- New Deployment
- Custom
- Disable network sensor services
- Disable Salt
- Disable Elastic Stack
Then we run "sudo so-allow" to allow our analyst machine to connect to the web interface on the Atomic Pi.
 |
| Squert showing Wazuh HIDS Alerts |
That's it! Pretty simple and straightforward if all we want is a Wazuh HIDS server and the Squert web interface.
Use Case #2 - HIDS and NIDS
HIDS is great, but what about NIDS? This is where things get more interesting, but also more complicated! For NIDS, we generally recommend two separate network interfaces, one for management and the other for sniffing. The Atomic Pi comes with one wireless interface and one wired interface, so we have a couple of options.Using built-in interfaces
If we want to limit ourselves to the network interfaces built into the Atomic Pi, then we'll need to configure the wireless interface for management and the wired interface for sniffing. Our Setup wizard configures wired network interfaces, but it intentionally doesn't support wireless interfaces. However, it's still possible to make this work. We can use Ubuntu's Network Manager to configure the wireless interface and then manually configure the wired network interface in /etc/network/interfaces using the guidance here:https://securityonion.net/docs/network-configuration.html
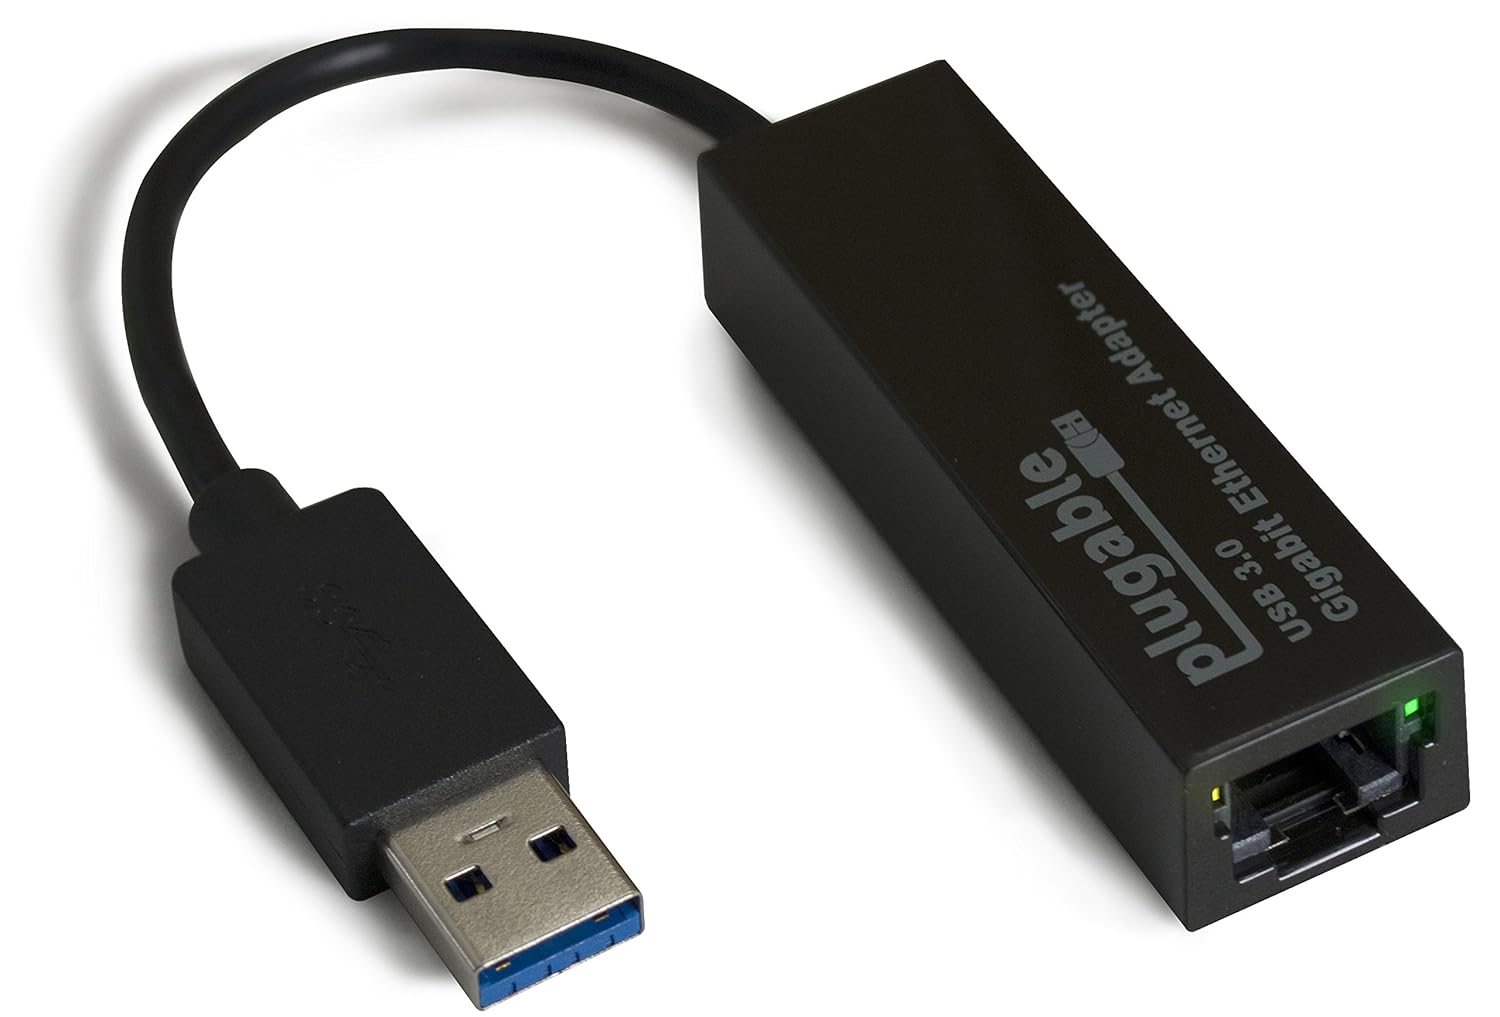
Using a USB Ethernet Adapter
If we don't care about limiting ourselves to the network interfaces built into the Atomic Pi, then we can add an external USB Ethernet adapter. For example:https://www.amazon.com/Plugable-Ethernet-Gigabit-Network-Compatible/dp/B00AQM8586
 |
| https://images-na.ssl-images-amazon.com/images/I/81DE2obQJCL._SL1500_.jpg |
This plus the onboard wired interface gives us two wired interfaces so we can use our standard Setup wizard for network configuration rather than having to resort to manually editing /etc/network/interfaces as shown above.
It should be noted that this may require an additional step if we choose to sniff from the USB Ethernet adapter using PF_RING. PF_RING may not recognize the USB Ethernet adapter name by default and so it may need to be renamed. This should only be an issue if we choose Snort (and thus PF_RING). Security Onion now defaults to running Suricata and Bro using AF_PACKET, which should handle USB Ethernet adapters just fine.
Setup Options for Use Case #2
For Use Case #2, we'll choose options very similar to Use Case #1, but we'll choose to Enable Network Sensor Services:- skip network configuration
- Production Mode
- New Deployment
- Custom
- ENABLE network sensor services
- Enable NIDS
- Disable full packet capture
- Disable Salt
- Disable Elastic Stack
 |
| NIDS and HIDS Alerts in Squert |
Use Case #3 - Adding a Forward Node to an Existing Deployment
Now that we've discussed how to do network sniffing on the Atomic Pi, we could also turn an Atomic Pi into a forward node to add to an existing Security Onion deployment. We would simply use the network config in Use Case #2 and then run Setup as follows:- skip network configuration
- Production Mode
- EXISTING Deployment
- Forward Node
- Custom
- Enable NIDS
- Enable Bro
- Disable full packet capture
Use Case #4 - NIDS, HIDS, Bro, and the Elastic Stack?
So far, we've avoided running the Elastic Stack directly on the Atomic Pi as we normally suggest at least 8GB RAM for such a configuration. Let's see if we have any more tricks up our sleeves for minimizing RAM usage and getting the Elastic Stack running on this Atomic Pi!Another disclaimer! We're about to do some crazy stuff just for this fun proof of concept! Don't try this in production!
We run Setup choosing similar options as Use Case #2, but this time we enable the Elastic Stack:
- skip network configuration
- Production Mode
- New Deployment
- Custom
- Enable network sensor services
- Enable NIDS
- Enable Bro
- Disable full packet capture
- Disable Salt
- Enable Elastic Stack
sudo so-stopWe need to change sguild's DEBUG setting:
sudo sed -i 's|set DEBUG.*$|set DEBUG 2|g' /etc/sguild/sguild.confNext, we manually configure Bro for standalone mode in /opt/bro/etc/node.cfg (replacing $INTERFACE with your actual sniffing interface)
[bro]
type=standalone
host=localhost
interface=$INTERFACE
We then add the following to /etc/nsm/securityonion.conf:
LOGSTASH_OUTPUT_INGEST="yes"
LOGSTASH_OPTIONS="--volume /nsm/bro/logs/current/:/nsm/bro/logs/current/:ro"
Then we set the following in BOTH /etc/elasticsearch/jvm.options AND /etc/logstash/jvm.options:
-Xms200m
-Xmx200m
Next, we limit Logstash workers in /etc/logstash/logstash.yml:
pipeline.workers: 1
Now we need to start Logstash to create the /etc/logstash/conf.d.ingest.output/ directory:
sudo so-logstash-startThen update 0007_input_import.conf:
sudo sed -i 's|/nsm/import/bro/\*\*|/nsm/bro/logs/current|g' /etc/logstash/conf.d.ingest.output/0007_input_import.confNext, we'll need to disable the desktop and reboot:
https://securityonion.net/docs/desktop.html
Once the Atomic Pi has rebooted, we log back in over SSH and verify that everything is running:
sudo so-statusConfigure Kibana:
sudo so-elastic-configure-kibanaFinally, we run "sudo so-allow" to allow our analyst machine to connect to the web interface on the Atomic Pi and view NIDS and Bro logs via Kibana.
 |
| NIDS and Bro logs now available in Kibana |
Conclusion
Playing with the Atomic Pi has been a fun project and, at only $38, it is an impressive little device! However, as you've seen from this blog post and its many disclaimers, we've had to do quite a bit to work around the inherent limitations of the hardware and so we can't really recommend or support it for production Security Onion usage.Security Onion is a versatile and scalable platform that can run on small form factor devices with limited hardware and can also scale up to the opposite end of the hardware spectrum to take advantage of extremely powerful server-class machines. Security Onion can also scale horizontally, growing from a standalone single-machine deployment to a full distributed deployment with tens or hundreds of machines as dictated by your enterprise visibility needs.
If you've enjoyed this blog post and would like to learn more about Security Onion, you may want to consider purchasing a printed copy of our Security Onion Documentation! It's available at an introductory price for a limited time only and includes a foreword by Richard Bejtlich and proceeds go to Rural Technology Fund!
If you're looking for Security Onion training, be sure to check out our official Security Onion training classes. We've got 4-day Basic and 4-day Advanced classes coming up in Columbia MD!
If your organization is interested in customized and tuned hardware appliances pre-loaded with Security Onion, please head over to https://securityonionsolutions.com to learn more about our Security Onion appliances and reach out to us using the contact information there.
Thanks!
No comments:
Post a Comment